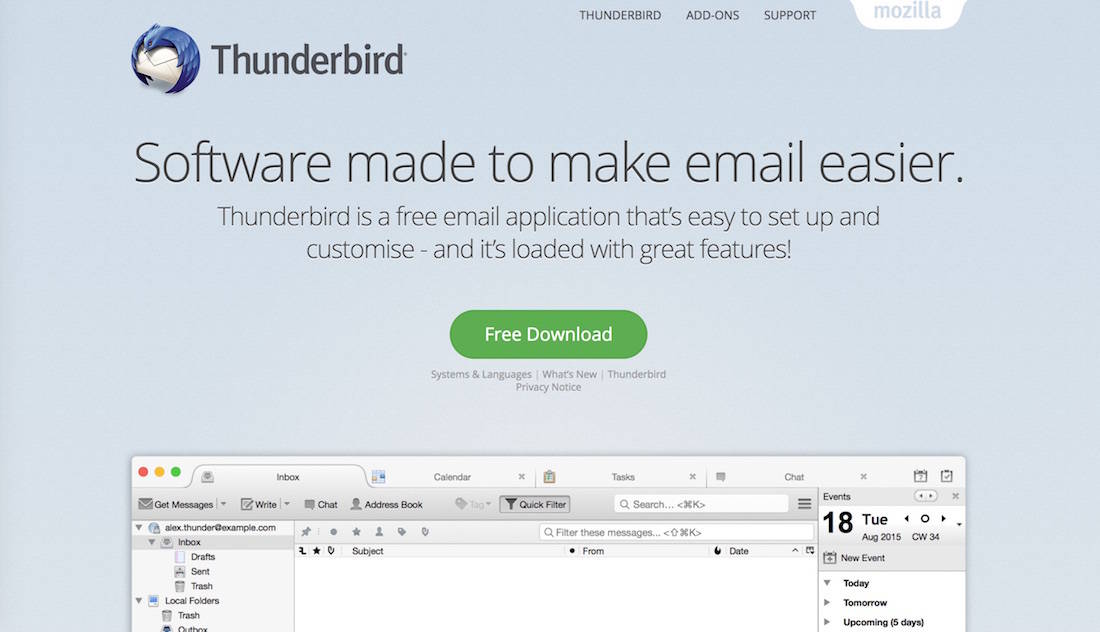
1. Get Mozilla Thunderbird
Download and install Mozilla Thunderbird
2. Get ImportExportTools
Download and install ImportExportTools from Mozilla’s add-ons store
3. Add Existing Email Address
Open Thunderbird and go File > New > Existing Mail Account…
Fill out all your details and hit “continue” then “done“. You may need to click on “Manual Config” if your mail servers aren’t automatically found. At the time of writing this, Heart’s mail servers are mail.yourdomain.com and the username is your email address. Make sure your incoming server is set to IMAP.
4. Export Your Emails
Now you need to download your mail to your computer. To do this, you’ll use that handy add-on you downloaded earlier.
Find your mailbox on the left then right click on Inbox > ImportExportTools > Export all messages in the folder > EML Format and save them somewhere on your computer.
Repeat this step for your Sent folder, Trash and Drafts. Save them in their own directories on your computer so you know which ones are which!
5. Switch DNS Settings
Now you have all your emails saved, go to your host account and change your mail subdomain to your new server IP.
To do this, go to Manage Domain Names > yourdomain.com > DNS Management
Click Update DNS and wait for the DNS settings to become stable.
Note: If you are switching to Google Apps, Heart have a nice little 1-click solution on the DNS management page.
6. Add Your New Email Address
Once your new DNS settings are stable and your emails are directing to your new server, you can re-add your email address on Thunderbird to import all your messages back into your inbox etc.
Go to Thunderbird, right click on your mail account and click settings.
From here, you can change your mail settings to match your new ones, or you can delete the account and re-add it. To do this, go to Account Actions > Remove Account
Add your email address again by going to File > New > Existing Mail Account…
7. Import Your Emails
Now that you have added your email account again, you should have an empty inbox and sent folder (unless you have received some mail since the DNS switch).
To import all your old messages, you do much the same as exporting them.
Right click on “Inbox” on the left and go to ImportExportTools > Import all messages from a directory > Just from the directory
Find the directory you saved your Inbox messages in and click open.
You can see the progress on the bottom status bar of Thunderbird.
Repeat this step for your Trash, Drafts and Sent folders.

